Wedding Summer Series: Your Invitations
You’ve probably been envisioning your wedding long before you said “I do.” From color scheme to the dress to the venue, you’ve mentally painted a clear matrimonial picture of the big day. And your guests will get their first glimpse when they receive an invitation. This paper preview will set the tone for your wedding (glam/ modern/ classic/ casual) so make sure to do your research before zipping to the stationery store!
Consider the different printing options.
First choose what type of printing appeals to you. This decision will help you select your colors, paper type, and envelopes.
Letterpress
While letterpress is certainly one of the more expensive options, it’s also one of most elegant. With letters that are slightly raised on the back on the invite and indented on the front, the look is created by a carved-out metal plate that leaves only your invite design and text behind.
Thermography
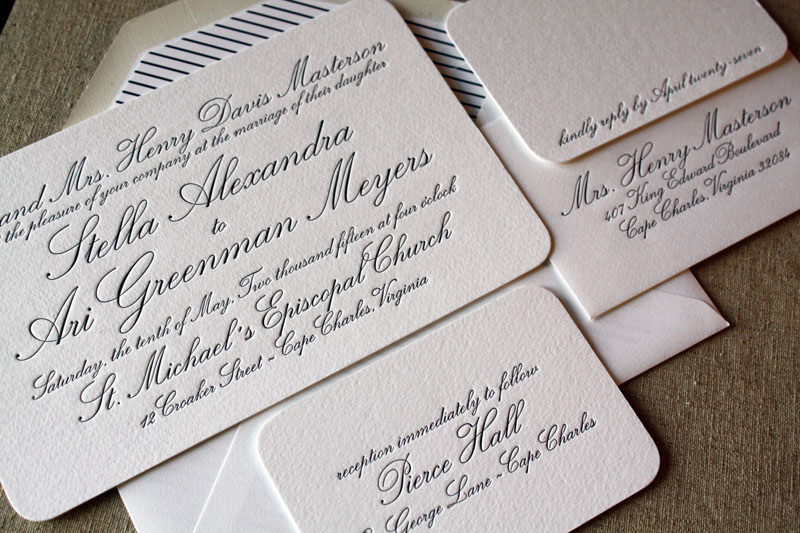
Thermography is a more cost-effective option, and involves a process that blends ink with a resin-like powder to create a smooth appearance that looks as if it’s engraved with raised letters (even though it’s not).
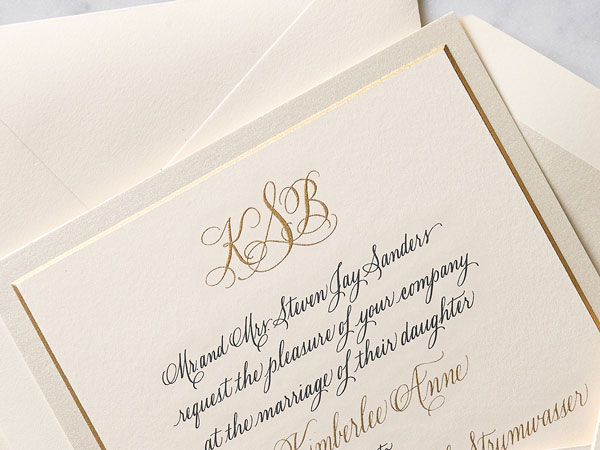
Engraving
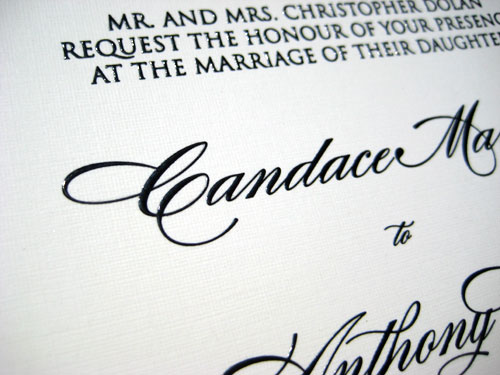
Another option on the pricier side, engraving takes inked copper plates (which have the invitation text and design etched into them) and places pressure on the paper.
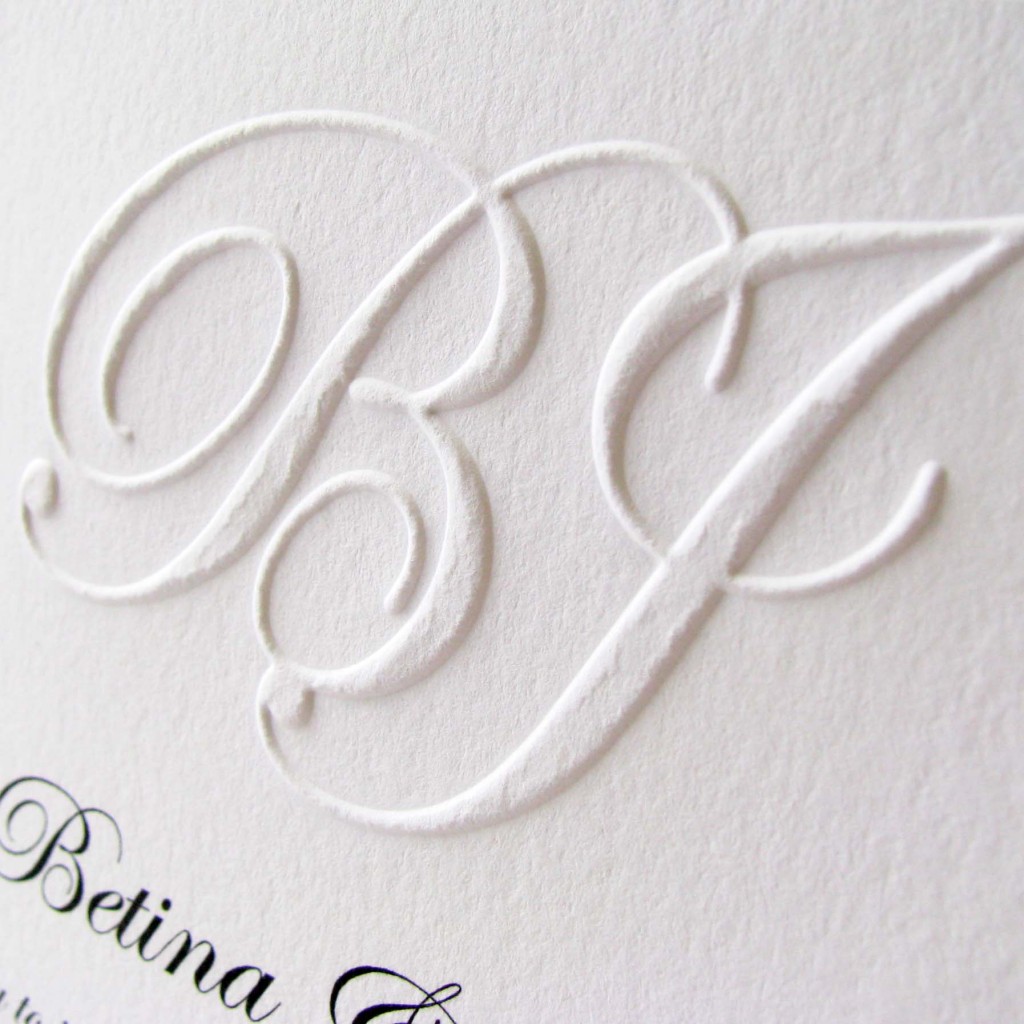
Embossing
Similar to engraving, embossing involves pressing the paper between etched metal die. The result is a beautiful raised lettering effect.
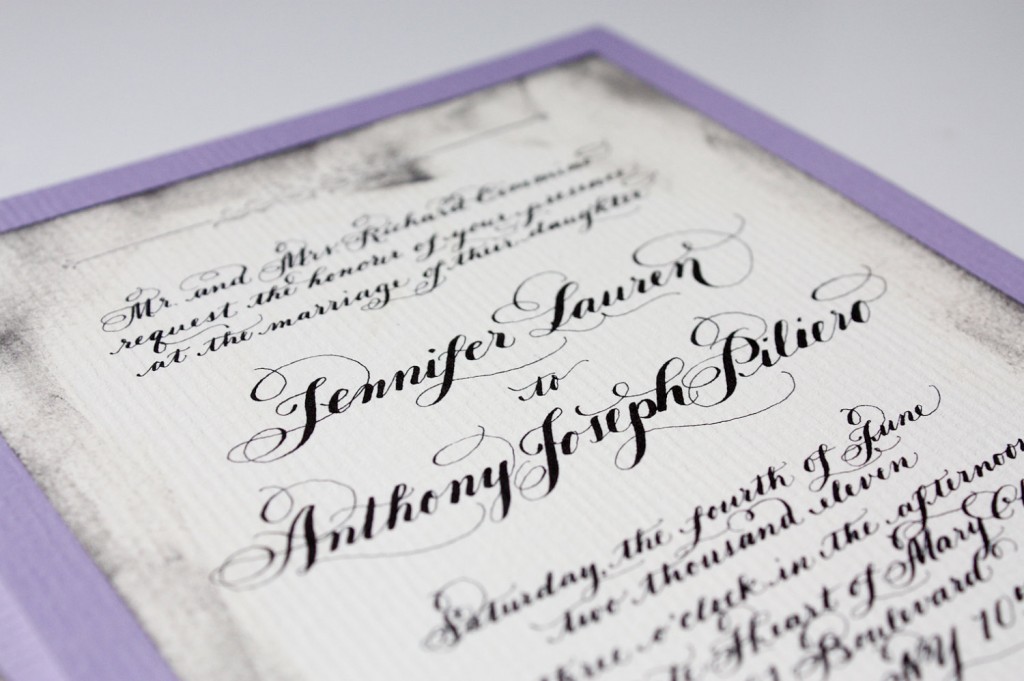
Handwritten
The most common style and a matrimonial favorite, calligraphy is a flowing lettering style created by artists using specialized pens and inks.
What kind of paper will you use?
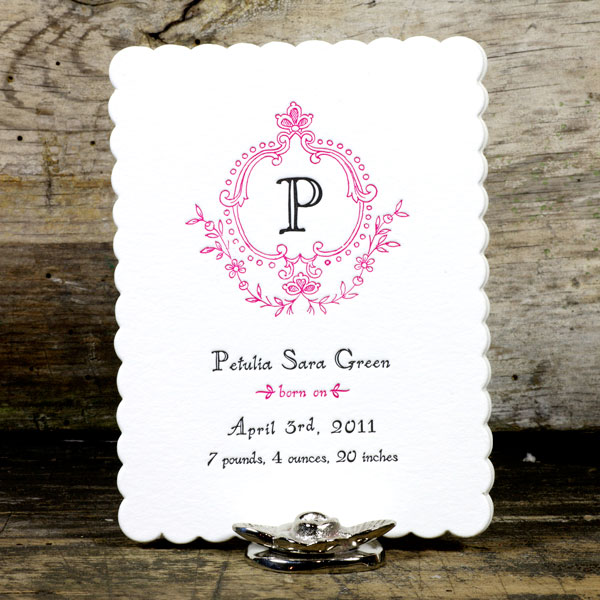
100% cotton
Used for the more formal invitations, cotton is smooth, and ranges higher in price.
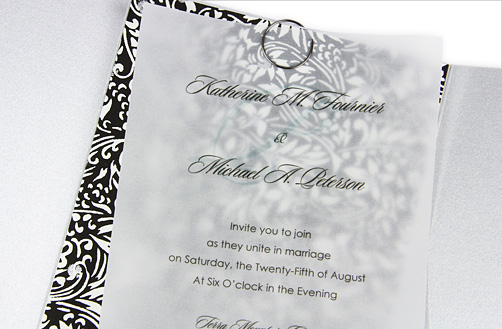
Vellum
Less expensive than 100% cotton, vellum adds a touch of beautiful flair with a semi-translucent finish.
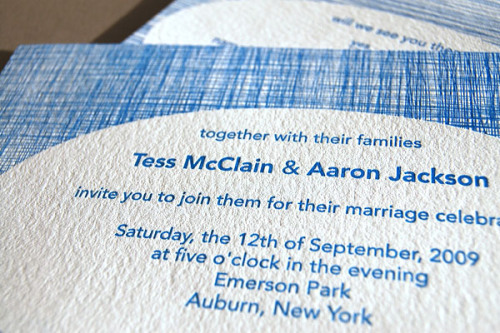
Linen
The cross weave texture in linen makes it a favorite paper type for invitations.
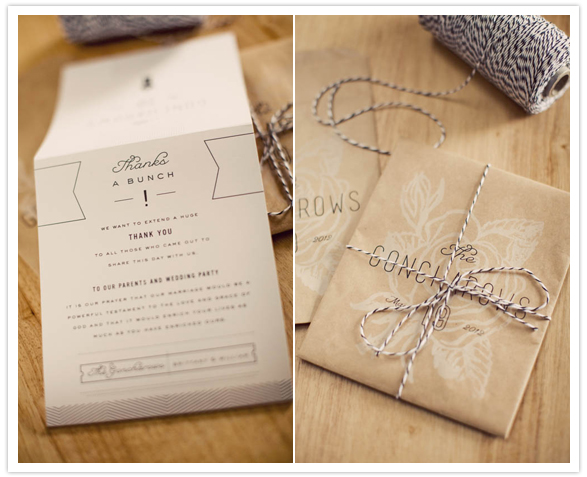
Parchment
A touch of rustic chic is easily attainable with parchment paper.
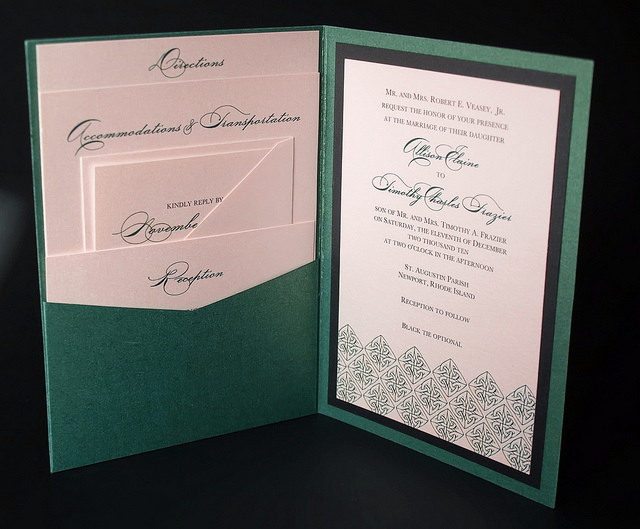
What kind of layout do you like?
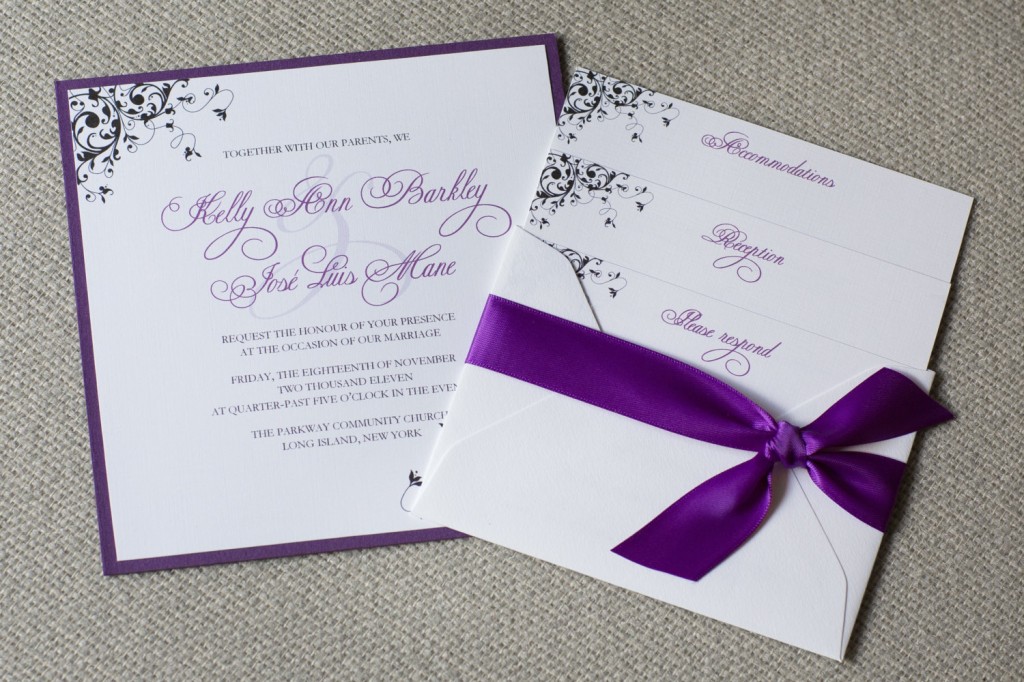
A sleek and modern option for your invitations, the pocket layout keeps your wedding details organized and neat.
Square
Stylish and unique, square invitations are a classic option.
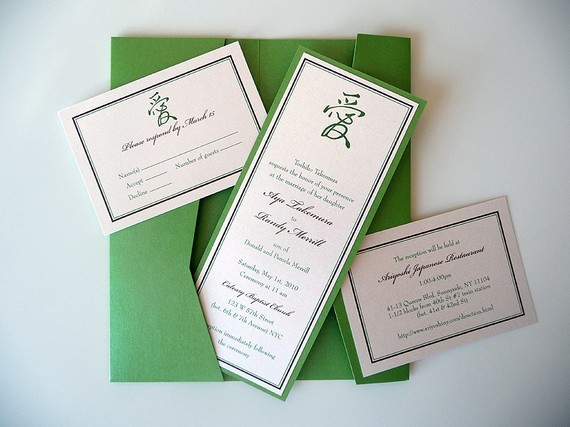
Tea-length
Tea length invitations are slender, longer, and more rectangular than your square options.
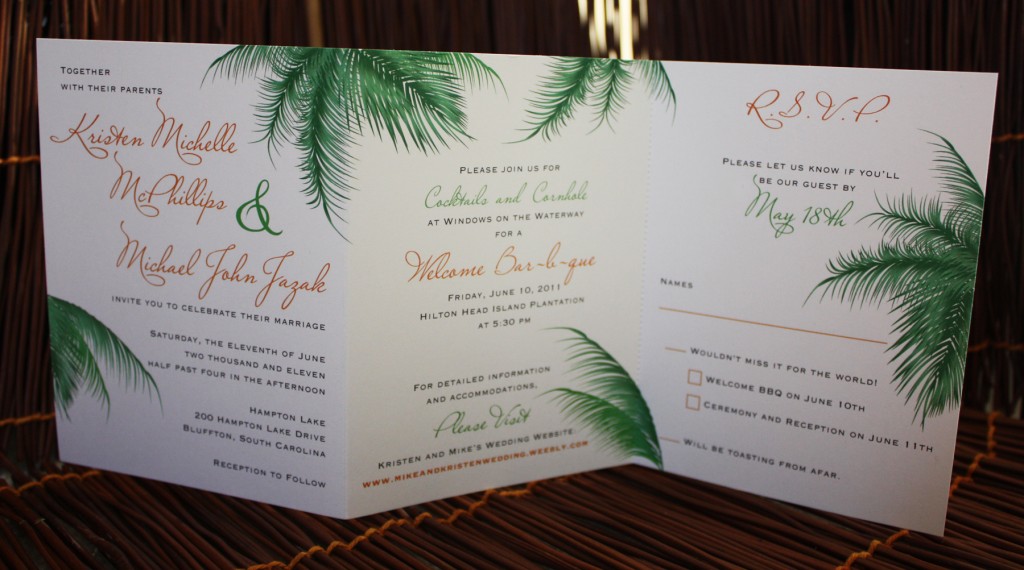
Tri-fold
With more room for text and images, tri-folds span over 6 sides and let you include more details about the big day.
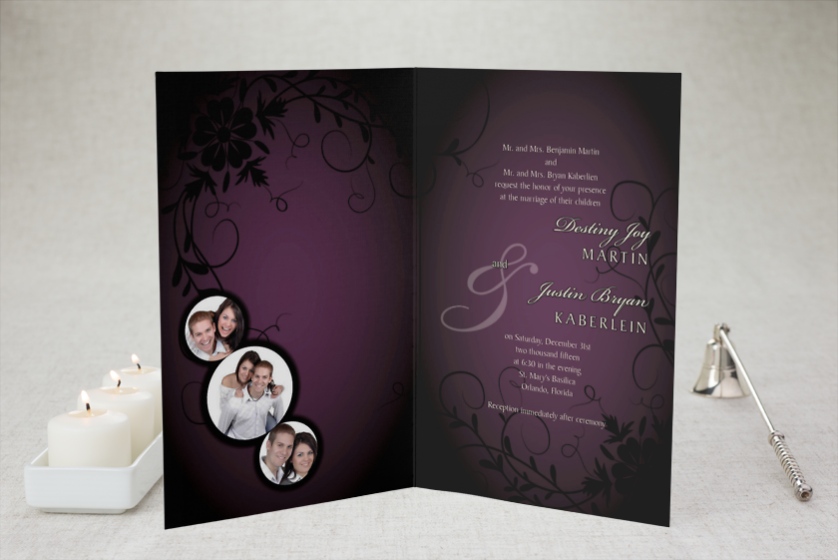
Half-fold
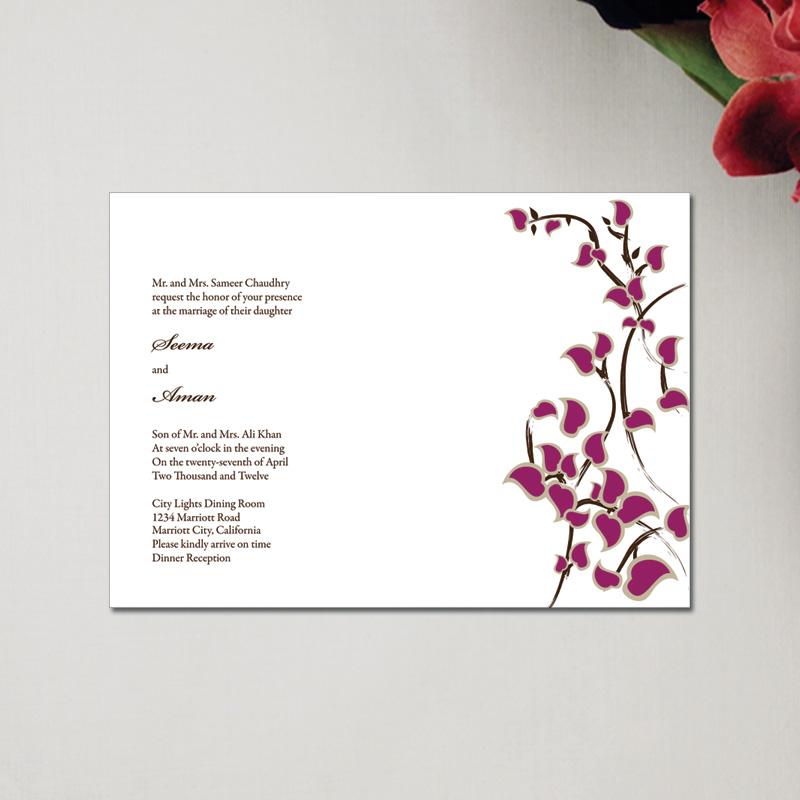
The traditional half-fold layout opens like a greeting card and makes it easy for guests to display your beautiful wedding invitation.
Rectangle
Versatile and simple, rectangle invites are a timeless option.
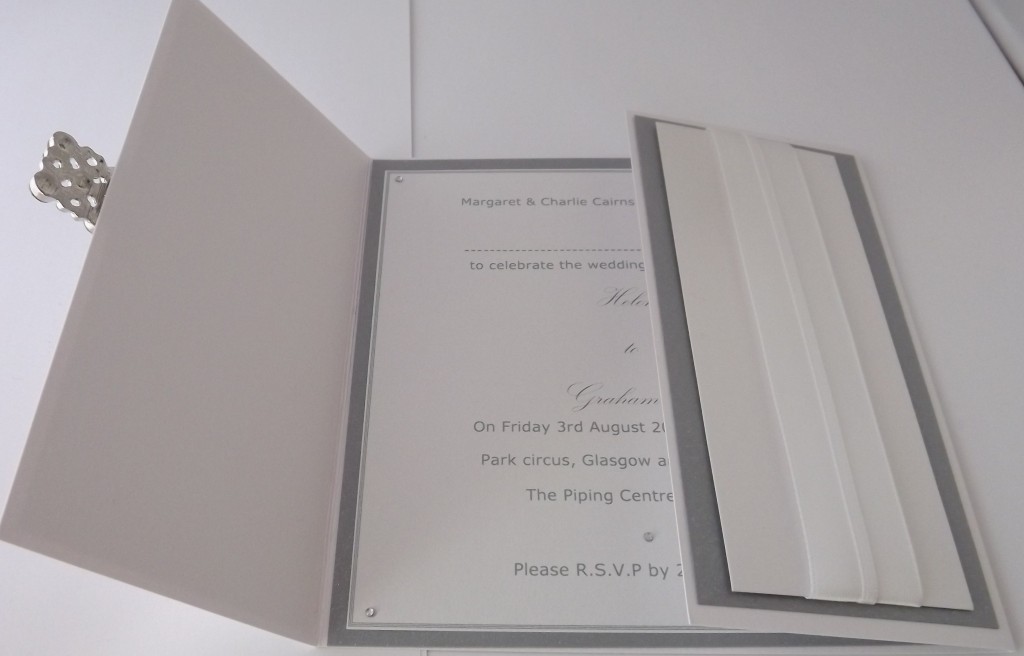
Gate-fold
Gate-folds give your guests a little preview of the invite design on the front, then open to reveal the full details inside.
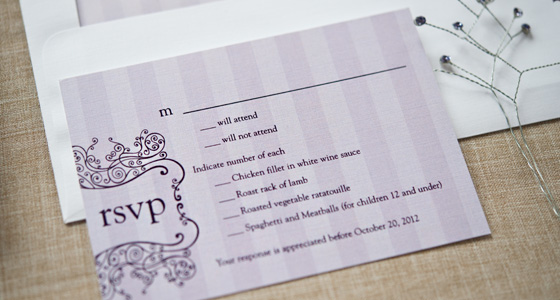
Don’t forget about the RSVP cards…
Since it’s easiest to order all of your stationery at once, be ready with your RSVP info and include it directly on the invite, or on a separate enclosure. Request the RSVPs sooner than you think you need to – a few weeks after your guests receive their invites should be sufficient. Since head count will affect a lot of other details (catering, seating, centerpieces), the sooner you get those RSVPs, the better!
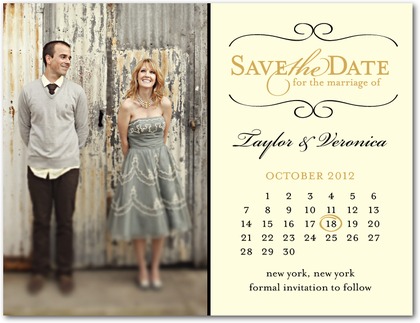
…Or Save The Dates
As the first official notification you’ll be sending out, your Save The Dates can be simple. Lots of couples include an image from their engagement photos. The text should be the same font and color scheme as your invitations to keep everything consistent!
Mark your calendar!
Get started early. Your guests should receive the Save The Dates no later than 6 to 8 months before the big day, and the invites no later than 6 weeks to 3 months beforehand. Note that some printing techniques take longer than others, so allowing extra time is always a safe bet. Aim to have your invitations ordered about 5 months in advance.

What about invitation “wed-iquette?”
While there’s no absolute right and wrong answer, when it comes to invitations, there are a few details to keep in the mind that your guests will appreciate.
When requesting RSVPs, include a self-addressed, stamped envelope. If you don’t include postage on the self-addressed envelope, your guests will be responsible for snagging a stamp. It’s a nice gesture to give them the convenience of simply checking the “yes” or “no” box, then dropping the envelope in the mail.
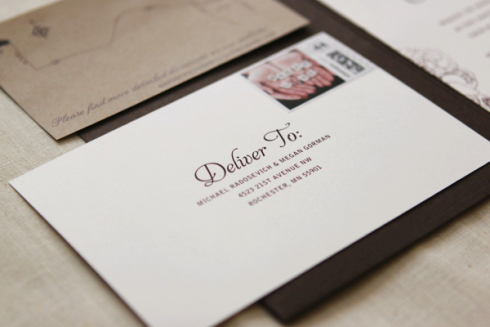
Also, make sure to keep your invitations and envelopes consistent. Meaning, if you embossed the invites, then emboss the envelopes. If you handwrote the invites, then handwrite the envelopes. If you used a regular printer for the invites, use the printer for the envelopes but refrain from utilizing address stickers.
Of course, factor in cost.
Cost can widely vary depending on your choice of printing technique, paper type, and other custom options. Do your research ahead of time so you can pick and choose where to invest your budget. Plan to spend 2-3% of your total wedding budget on invitations, but that could increase, depending on your choices mentioned above.
Helpful hint: this may seem obvious, but don’t forget about the price of stamps! It can be all too easy to get wrapped up in the design and fail to budget for postage.
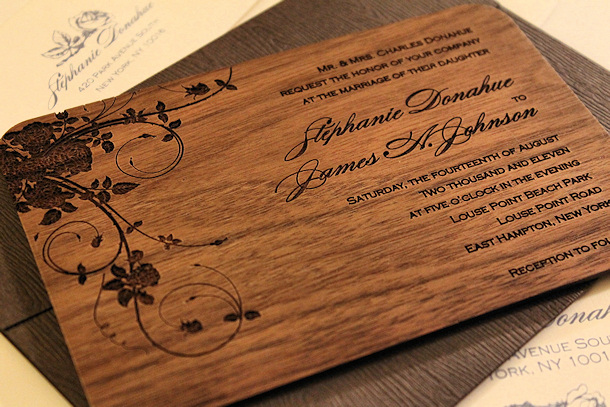
Above all, remember that your invitations are a small visual representation of your wedding, and should match the theme of your big day. And if done correctly, they’ll definitely get your guests excited about joining you for the special occasion!


